Showing posts with label Aardvark Scouts. Show all posts

Monday, October 10, 2011

Test Print with Black Block

In a future post, I will try to do a proper introduction of my press. I did not realize that I had not done this until half way through this particular post.

The first block I decided to carve was the black one. I am glad I chose to do this first because it was extremely tedious and detailed. Apologies for the poor image quality.


To carve this, I used a variety of both Japanese and European style gouges. I will try to post pictures of them in my next post. It is not necessary to carve very deep since the roller does not typically deposit ink into carved areas. You will see the exception to this in the test print below.


Here's a picture of the printing supplies. To the right is a sheet of glass that the ink will be spread onto with a paint knife. Knead the ink with the knife until it becomes more pliable. Afterwards, the ink is gathered with the knife and arranged in a strip across the top of the glass. From there, the roller is used to bring small amounts of ink from the strip down onto the lower portion of the glass. Roll the roller quickly until the ink is consistently distributed on the roller.


From there, slowly roll the roller across the surface of the carved block. It may be necessary to do several passes depending on how much ink is on the roller, how big your roller is, and how big your block is. In the above image, ink has been rolled onto the block, but more is needed to fill in the more splotchy areas. Once the block is inked up, I place a sheet of newsprint over the image. I intend to use nice paper in the final edition, but as a test, newsprint works just fine.


Over the paper, felt blankets are laid down. As far as I know, they serve as cushions to help buffer the pressure of the press. In the above image, I have a corner lifted up so that you can see the layers. Typically, three different blankets are used, but for this I only used two.


The next step is to find an appropriate pressure so that the ink will transfer onto the paper when rolled through the press. When the lever is pulled down, the roller under the print bed (the black board) is raised so that the bed and the printing block are pressed against the top roller. If there is not enough pressure between them, the top roller can be lowered by turning the middle knob.


There is no need to worry with the two smaller outside knobs, if they do not interfere with adjustment of the roller. They are used when doing intaglio prints.

I typically like to start feeling resistance in the lever when it reaches the point pictured above. To operate the press, the lever must be pulled down all the way.


Once an appropriate pressure has been found, hold the switch in the direction the print bed needs to go. When doing relief prints, one may choose to roll the block through one way, then go back the other. I did not feel this was necessary in this instance.

Gently remove the blankets. Then gently take the edge of the paper and pull it up and off to see the print!

Ta-da!!

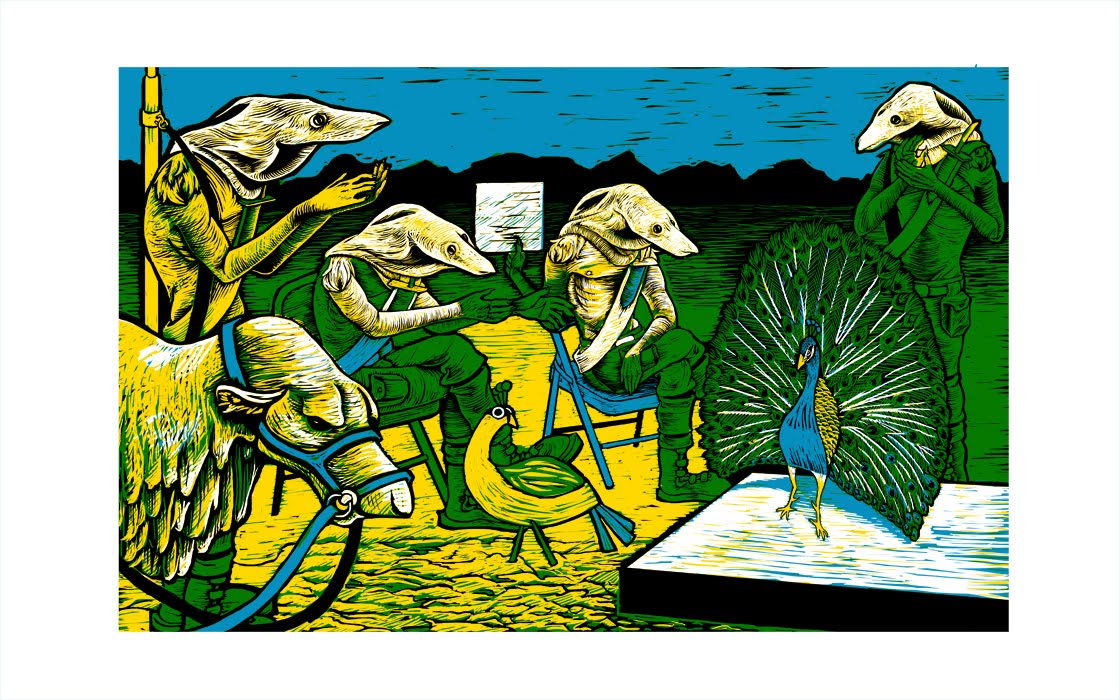
I am very pleased with this test print. From what I can tell, it is very close to the computerized version. There are a few areas which I forgot to carve, so I will go back in later to do those small bits. The lighter area of the peahen is probably due to me not being consistent with the ink I rolled onto the block and can be easily fixed when it comes time to get serious. Some areas in the sky and on the stage that were supposed to be white caught some ink from the roller because they are fairly large areas. For now, I will leave them alone to see how they look with the other two colors. If I do not like it, I can either try to carve the areas out more or (for the sky) I can make what is called a frisket to cover over the inked area to keep it from printing.

Thursday, June 16, 2011

Aardvark Scouts Day 7: Final Computer Rendering

I think I am done in regards to what I want the print to look like. I can not proceed in the process because I am still waiting on a catalog from Graphic Chemical so I can look at ink colors to order. I ordered a hand-roller the other day from their online store and requested/bought another catalog. Hopefully they will send the roller quickly and will include a catalog in the box.

Tuesday, June 14, 2011

Aardvark Scouts Day 6


It's almost there. After flipping the image, I decided the clapping Scout on the left needed to be moved over. Unfortunately, with the way my layers are set up, I couldn't do this without having to redo some areas. After I fix the white gap left between him and the peacock I want to work on getting rid of some of the yellow in the image. It feels a bit overbearing at the moment.

Sunday, June 12, 2011

Aardvark Scouts WIP Day 5 and Kammal Reference Sheet


I didn't get much done today regarding the print. I mostly worked on the peacock's feathers which is making me dread the idea of carving all of it out three times D: I spent much of my working day on a reference sheet for the Aardvark Scouts' riding steed, the Kammal. I'm not an expert on biology/ zoology by any means, so I hope I can be forgiven if some of the information sounds implausible.

Thursday, June 9, 2011

Aardvark Scouts WIP Day 4

It's getting there! I've decided that this will be printed with three separate blocks (something I've never done before). I'm hoping by printing yellow on top of blue, I will gain a forth color--green. Unfortunately I do not have the inks on hand to test this theory. The company I want to order from, Graphic Chemical, is being very slow mailing their catalog and their website has no color swatches. I may break down and order what I think I want/need, but I'd really like to see what I'm buying. As much as I love thier products, they really don't seem to care about their business in regards to showing off their products or making it easy for their customers to find what they want.

Wednesday, June 8, 2011

Aardvark Scouts WIP


After scanning in the original drawings, I arrange them within the composition and start working on how the final image should look. I've not done many relief prints and I'm finding it difficult to make up my mind on how many colors I want and where I'd like to put them. I thought starting with the lightest color and moving to darkest would be the way to go, but not far into it, I decided to work out the black areas first.

Sunday, May 29, 2011

Aardvark Scouts Line Drawings


During my two month summer break I plan to create at least two relief prints centered around some old characters of mine called The Aardvark Scouts. In college, I created a portfolio of prints centered around these character. The purpose of continuing this series is to replace some weaker images in the portfolio in the hopes of strengthening it enough to apply to graduate school. I will attempt to upload progress shots of the process here.

First up are the initial drawings I do of the characters that will be in the print. The poses are pulled from the thumbnail sketch I chose to follow of the layout of the whole piece. I like to draw the characters individually on paper, scan them, then arrange them compostionally on the computer. I like this method because it allows me to easily arrange, resize and edit the subjects without having to do a lot of redrawing. I don't necessarily have to outline them since most lines will be redone or worked over while coming up with the final image, but it's a habit I picked up in school that I don't care to quit.

Saturday, March 20, 2010

Page 2 and Moon Bear

This comic idea has been pretty time consuming when it comes to doing art. I'm hoping it will get easier and quicker as I get used to inking in photoshop. This is page two v. 2. Version 1 had bad pacing and was not very interesting to look at.


For some color-- have a bear.

Tuesday, February 9, 2010

Aardvark Scouts Comic pg 1

I've finally decided to take a risk and try to work on a comic centered around some character's I've had since 2005ish. I'm trying not to think about how big of a project this is. One step at a time is the only way I'll be able to tackle this one. Below you can see the original sketch and then the finished page. This is the first time I've ever tried to do anything comic related, so it will certainly be a learning experience!